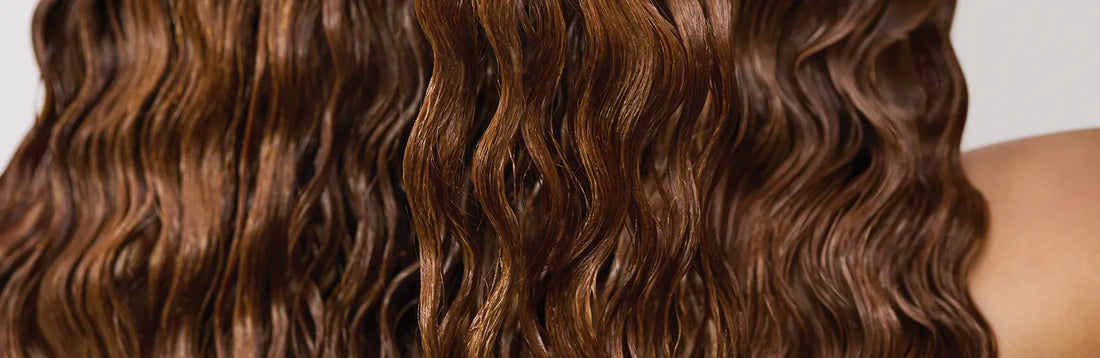
Better curl clumping isn't necessarily about using more product. It's about creating the right conditions for your curly hair to form larger, more defined curl clumps—and helping them stay together as they dry. From how wet your hair is to how you distribute your styling products and shape your curls, a few simple changes can make a noticeable difference in curl definition.
What Is Curl Clumping?
Curl clumping is when individual strands of curly hair naturally group together to form larger sections, creating a more defined and cohesive curl pattern. When curls clump well, they can appear smoother, more uniform and less separated. When they don't, hair can look stringy, fluffy or frizzy. Curl clumping looks different from one head of curly hair to another. Your natural curl pattern, hair density, moisture level and styling routine can all influence how your curls form.
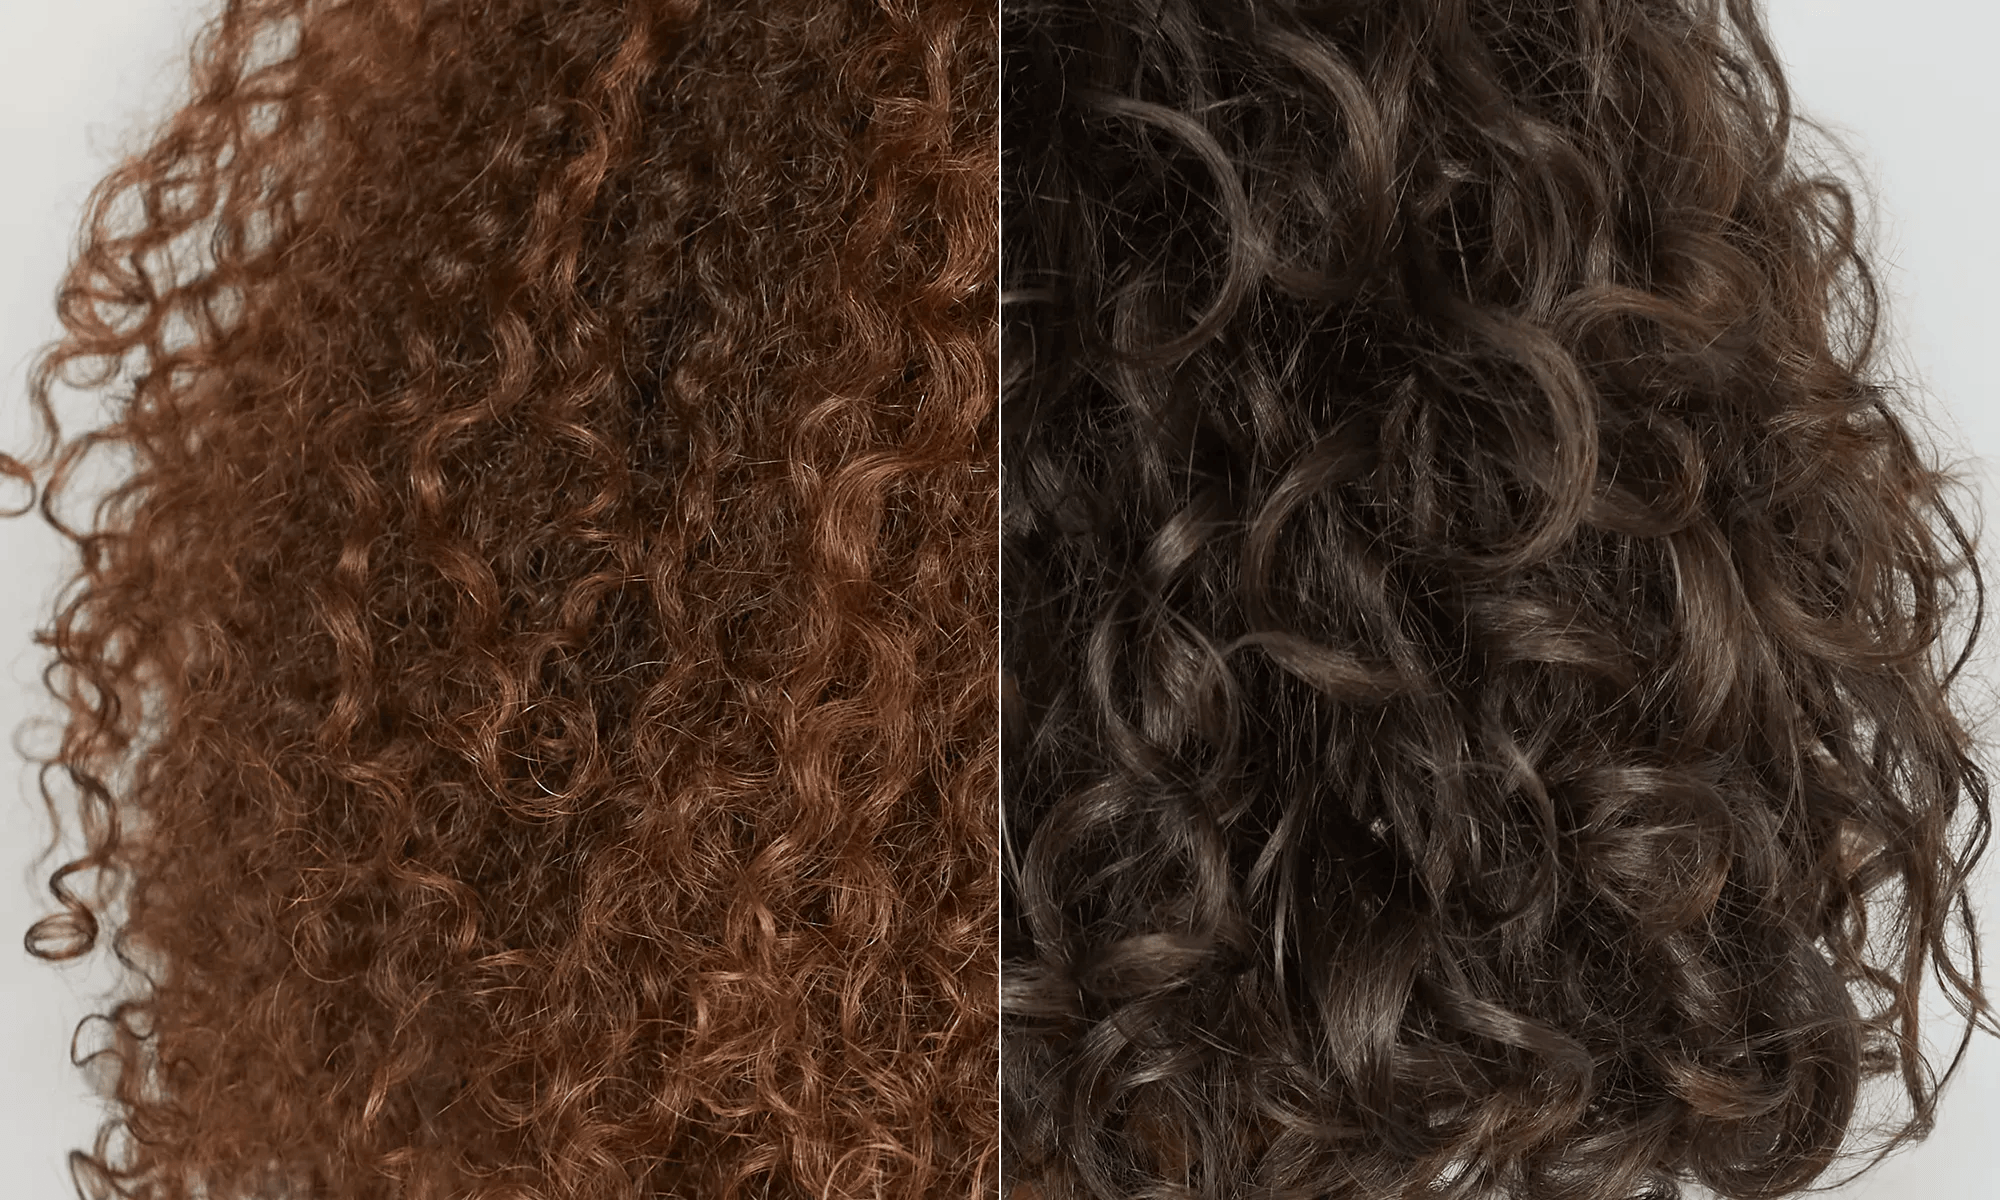
Poor clumping: smaller, separated, stringy curls → less definition and potentially more visible frizz
Better clumping: larger groups of strands → more cohesive, defined curls
What's the Secret to Better Curl Clumping?
The secret to better curl clumping isn't one magic product or technique. It's a combination of moisture, even product distribution, the right styling technique and minimal disruption while your curls dry.
When these elements work together, your hair can form larger, more defined curl clumps that hold their shape.
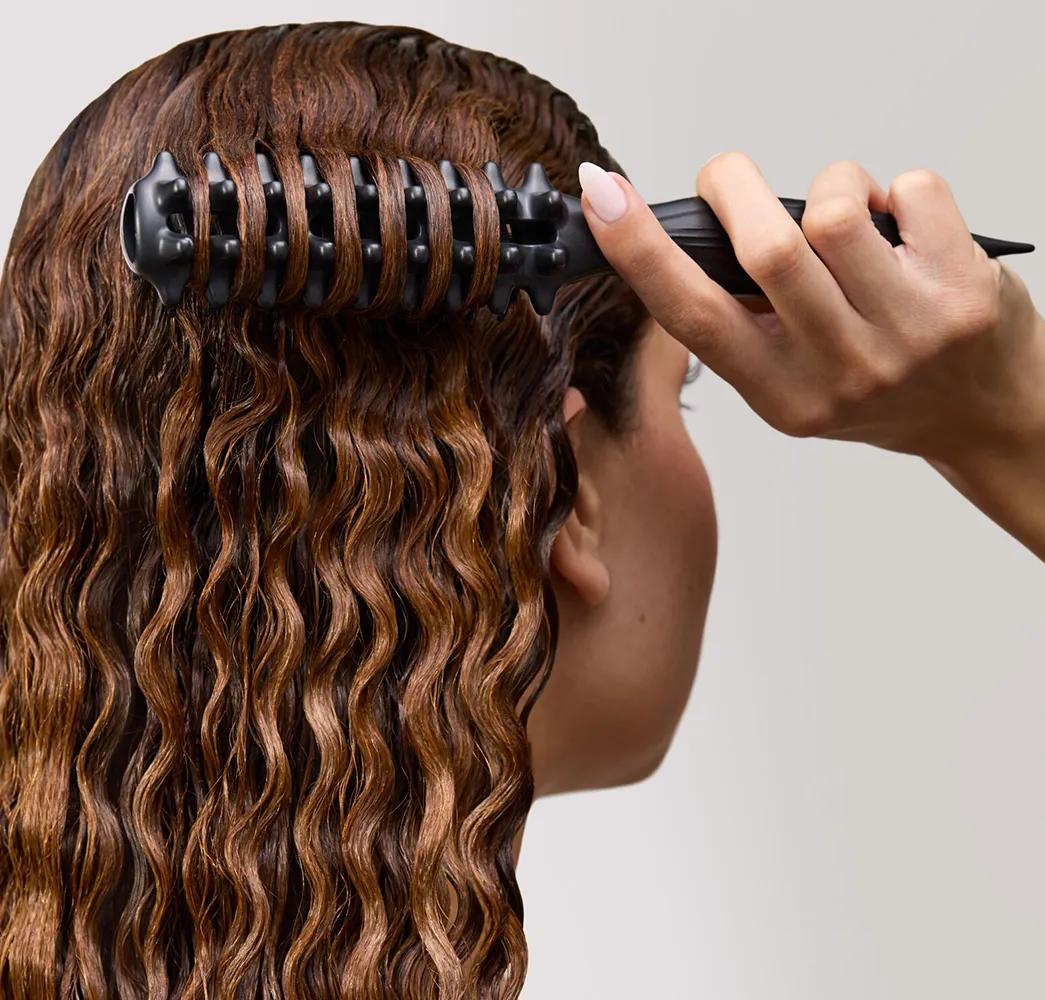
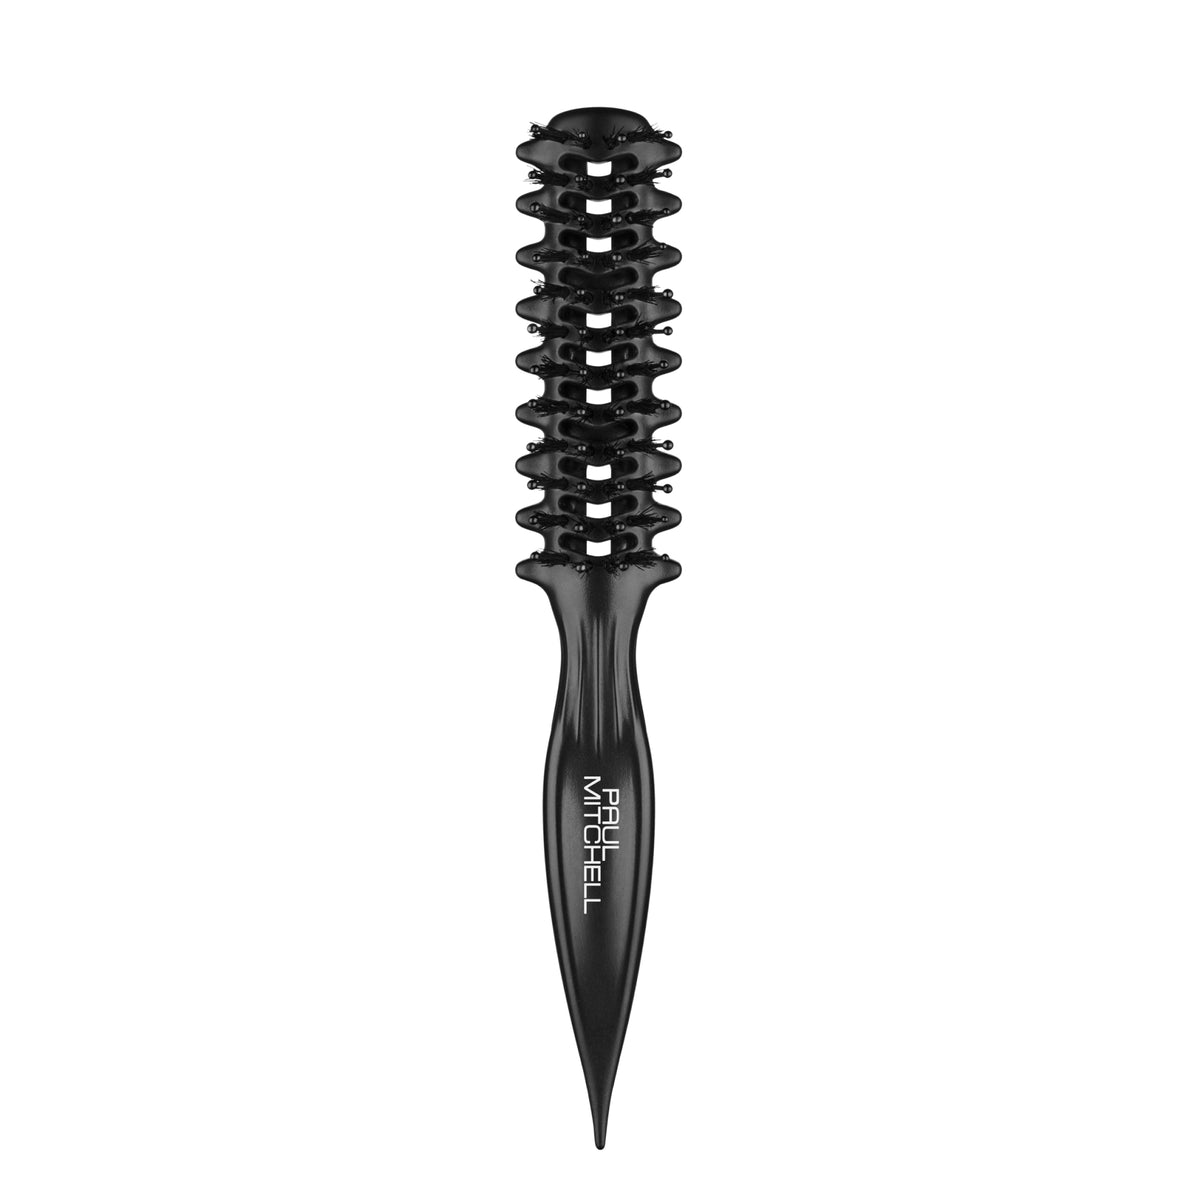
Paul Mitchell Curl Brush
$15.00
5 Steps to Better Curl Clumps
-
Start with clean, wet hair.
Apply your favorite Paul Mitchell Curl styling product while your hair is wet. Starting with plenty of water can help your strands move together and makes it easier to distribute product evenly. -
Divide your hair into manageable sections.
Working in smaller sections gives you more control over product distribution and makes it easier to encourage curl definition throughout your hair. -
Brush from roots to ends.
Using the Paul Mitchell Curl Brush, gently brush each section from roots to ends with light tension. This helps smooth the hair, distribute product and encourage strands to come together. -
Encourage your natural curl pattern.
As you reach the ends, twist or flick the brush and use the curl-defining grooves to encourage the hair to coil into curl clumps. You can also gently scrunch the section upward to enhance definition. -
Let your curls dry without disturbing them.
Allow your curls to set completely by air-drying or using the diffuser attachment on the Paul Mitchell Dry Hair Dryer. Try to avoid unnecessary touching while your hair dries, as disrupting forming curl clumps can lead to frizz and less definition.
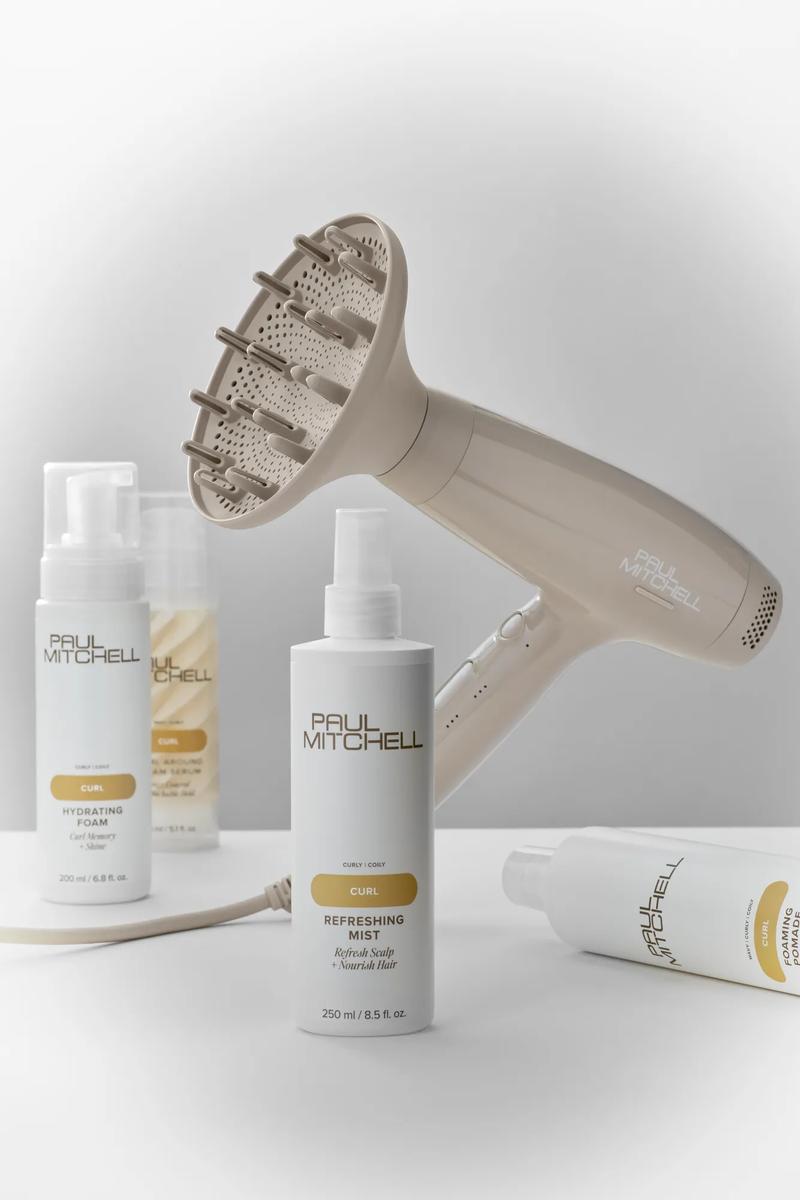
Paul Mitchell Dry Hair Dryer
$165.00
What Products Help With Curl Clumping?
The best products for curl clumping depend on your hair's texture, density and desired level of hold. Look for products that help provide moisture, slip, definition or hold without weighing down your natural curl pattern.
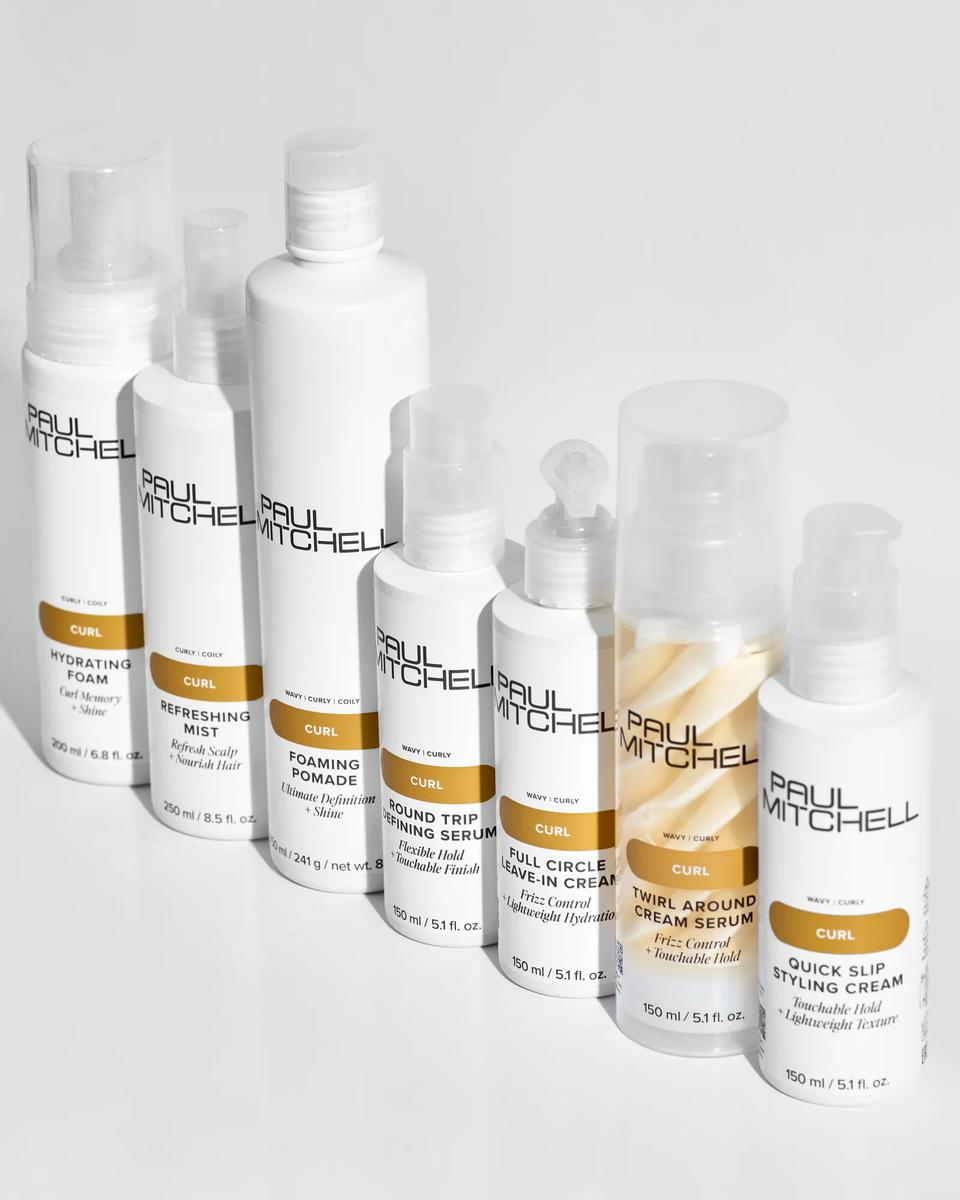
- Round Trip Defining Serum: lightweight, conditioning formula defines curls and reduces dry time
- Foaming Pomade: cream-to-foam mousse for light control and softer hair
- Full Circle Leave-In Cream: hydrates, detangles and minimizes frizz, without weighing curls down
- Twirl Around Cream Serum: combines hydration with smoothing and hold
- Quick Slip Styling Cream: provides soft definition and reduces drying time
Why Aren’t My Curls Clumping?
If your curls are coming out stringy, undefined or separated into lots of tiny pieces, you're not alone. Curls may not clump for several reasons, including insufficient moisture, uneven product distribution, too much manipulation or not enough hold.
The good news? Small changes to your curly hair routine can help encourage larger, more defined curl clumps.
-
Your hair isn't wet enough when you style.
One of the easiest ways to encourage curl clumping is to apply your styling products while your hair is very wet. Water helps the strands move together, while applying product evenly can help those strands stay grouped as they form their natural curl pattern.
Try adding your leave-in, styling cream or mousse before your hair starts to dry out. If a section feels dry or fluffy while you're styling, mist it with water and work the product through again. -
Your products aren't distributed evenly.
If some sections have plenty of product while others have very little, your curls may form inconsistent clumps.
Try using your fingers or a styling brush to distribute product from root to tip. You can then gently scrunch upward to encourage the strands to group together. -
You're separating the curls too much.
Once your curls have started forming clumps, resist the temptation to repeatedly run your fingers through them. Excess manipulation can break larger clumps into smaller sections and create additional frizz.
Instead, encourage the shape while your hair is wet, then let the curls dry with as little disturbance as possible. -
Your hair needs more hold.
Sometimes your curls do clump—they simply don't stay together.
If your curls look defined when wet but separate as they dry, experiment with a styling product that provides more hold, such as Twirl Around Cream Serum. The goal isn't necessarily to use more product; it's to find enough hold to help preserve the curl formation as your hair dries. -
Your curls may need a little hands-on definition.
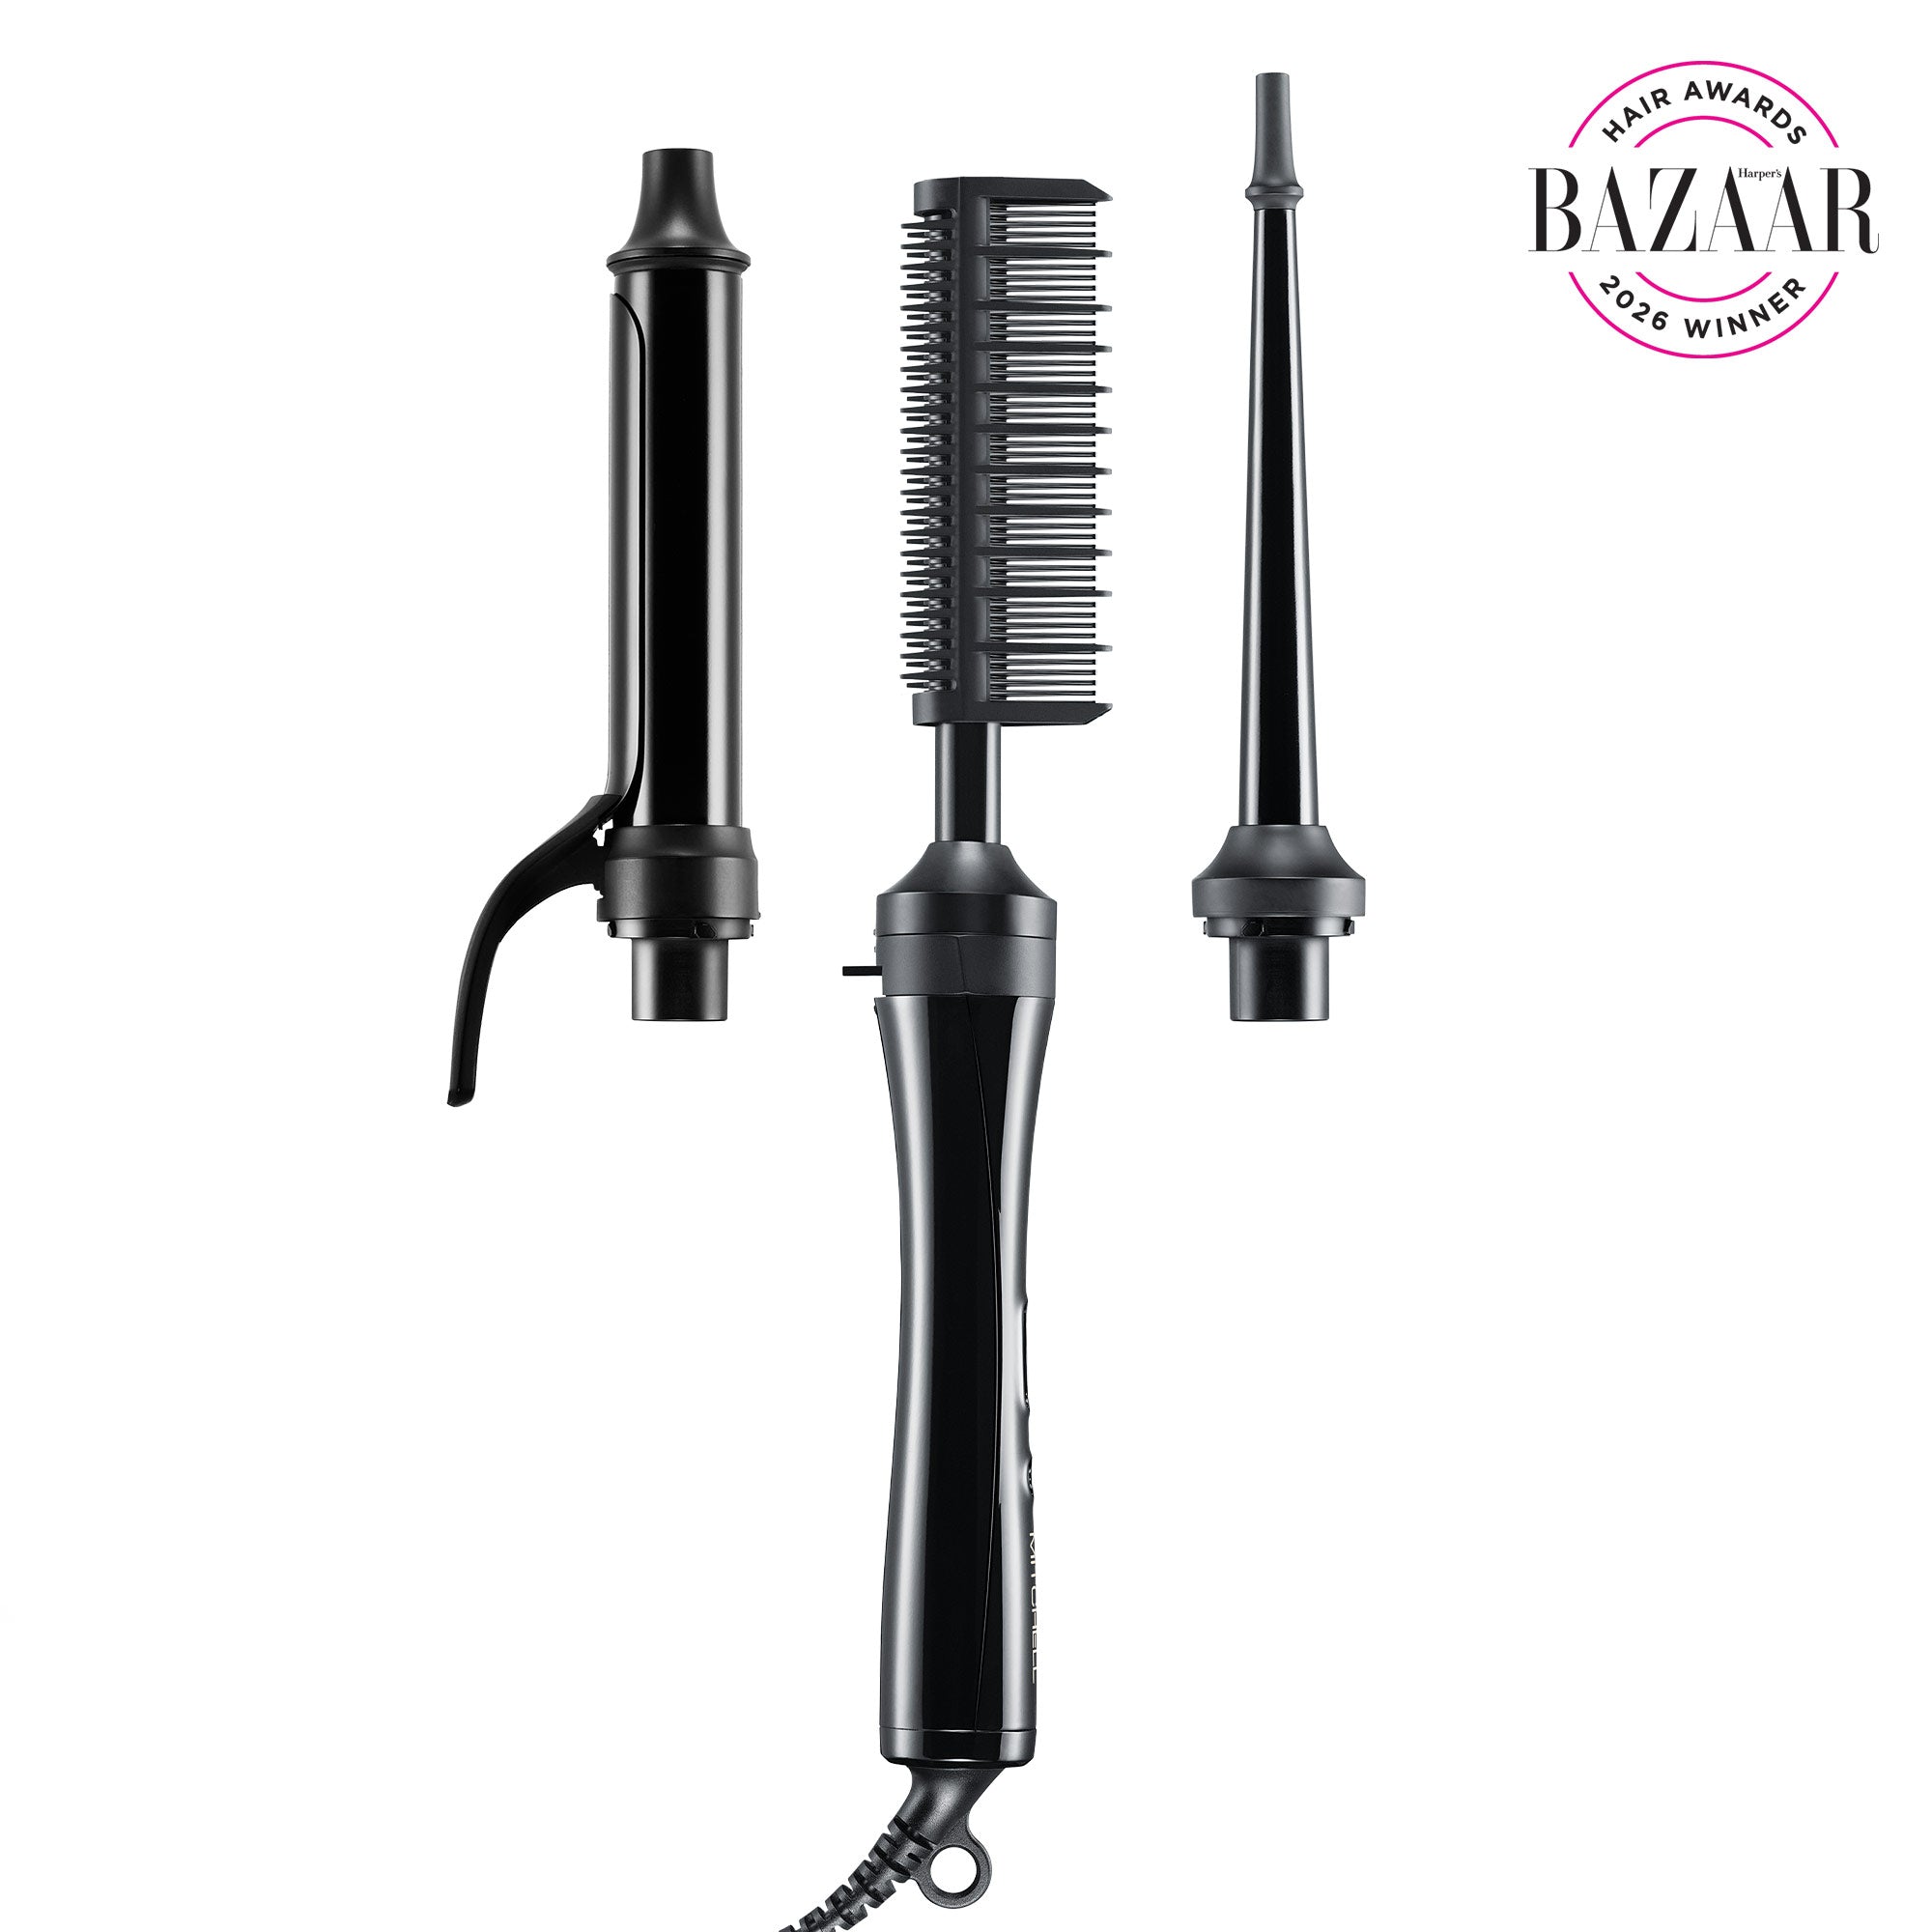
Natural curl clumping won't always give you perfectly uniform curls, especially if you have sections with different curl patterns. That's where finger coiling (twirling curls with your finger for definition) or a curling iron can be useful as a finishing tool.
Can I Use a Curling Iron on Curly Hair?
Yes—a curling iron can be a useful finishing tool when you want to add definition to individual curls. You don't necessarily need to curl your entire head. Instead, try “spot styling” a few sections that didn't form the way you wanted.
Once your hair is completely dry, use a heat protectant and select a small section that needs additional definition. Wrap the section around the curling iron, following the direction of your natural curl pattern, then release it and allow the curl to cool before gently arranging it with your fingers.
This technique can be particularly useful for refining curls around the face or reshaping a few sections that dried less defined than the rest of your hair.
Tip: Never use a curling iron on wet or damp hair. Always use heat protection and choose a temperature appropriate for your hair.
Paul Mitchell Texture 3-in-1 Interchangeable Curling Iron & Hot Comb
$130.00