Get the Look: Pompadour Style at the Wolk Morais Collection 6 Fashion Show
Hair reached new heights on the runway with the resurgence of the pompadour! This voluminous style—which pulls hair away from the face with an edgy, fun flair—was seen at the Wolk Morais fashion show.
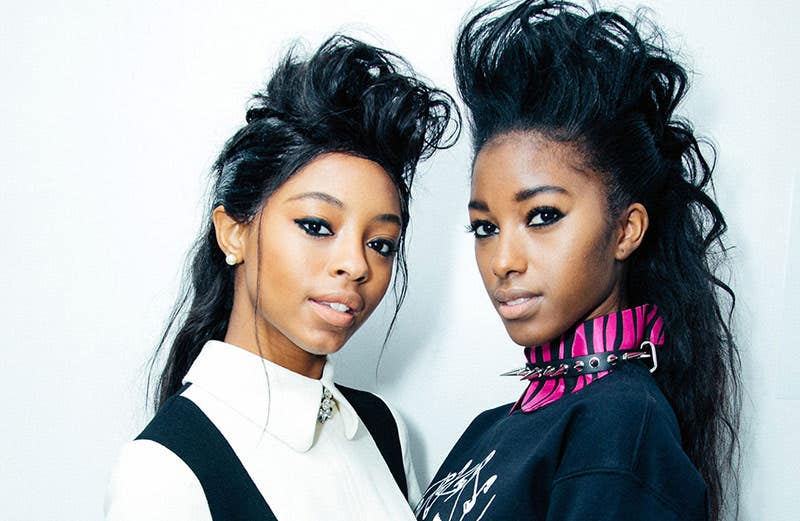
Photo: Tyler Curtis
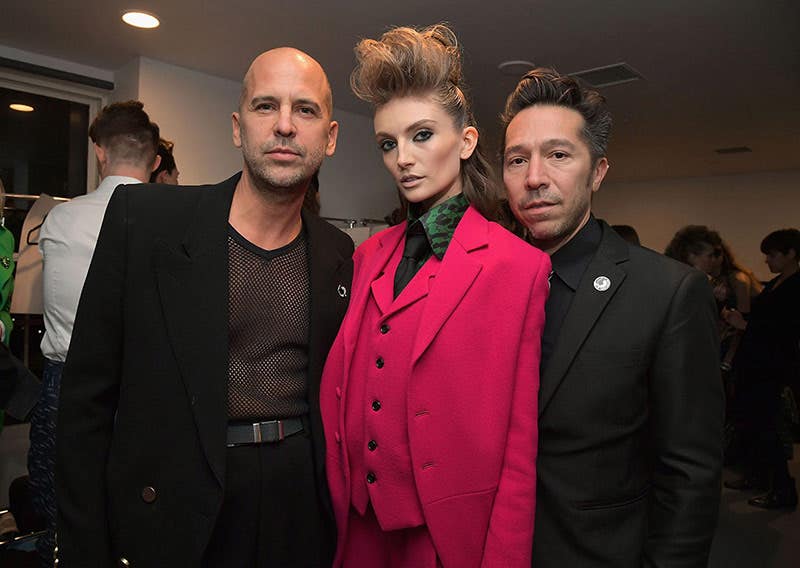
Photo: Getty Images
Los Angeles-based designers, Brian Wolk and Claude Morais, recently presented their sixth collection on the rooftop of the iconic Hollywood Roosevelt Hotel. The show look was an ode to gothic Hollywood with mixed shine and texture that complemented the rocker-chic collection.
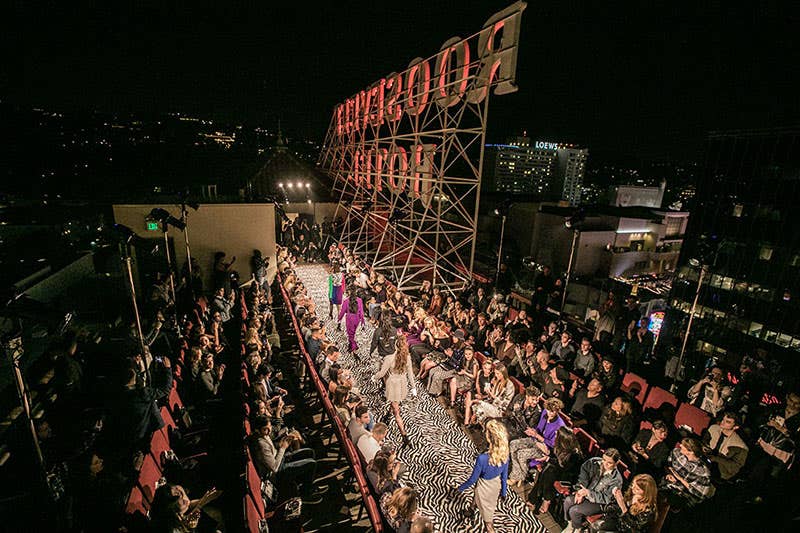
Photo: Tyler Curtis
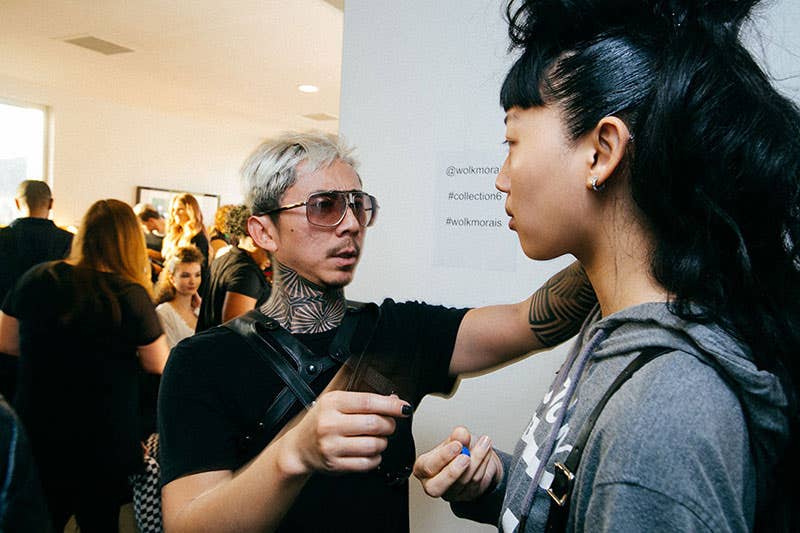
Photo: Tyler Curtis
Noogie Thai, Artistic Director of Style for John Paul Mitchell Systems®, was backstage to add sleek, controlled glam to the rock-style inspired pompadours that went down the runway.
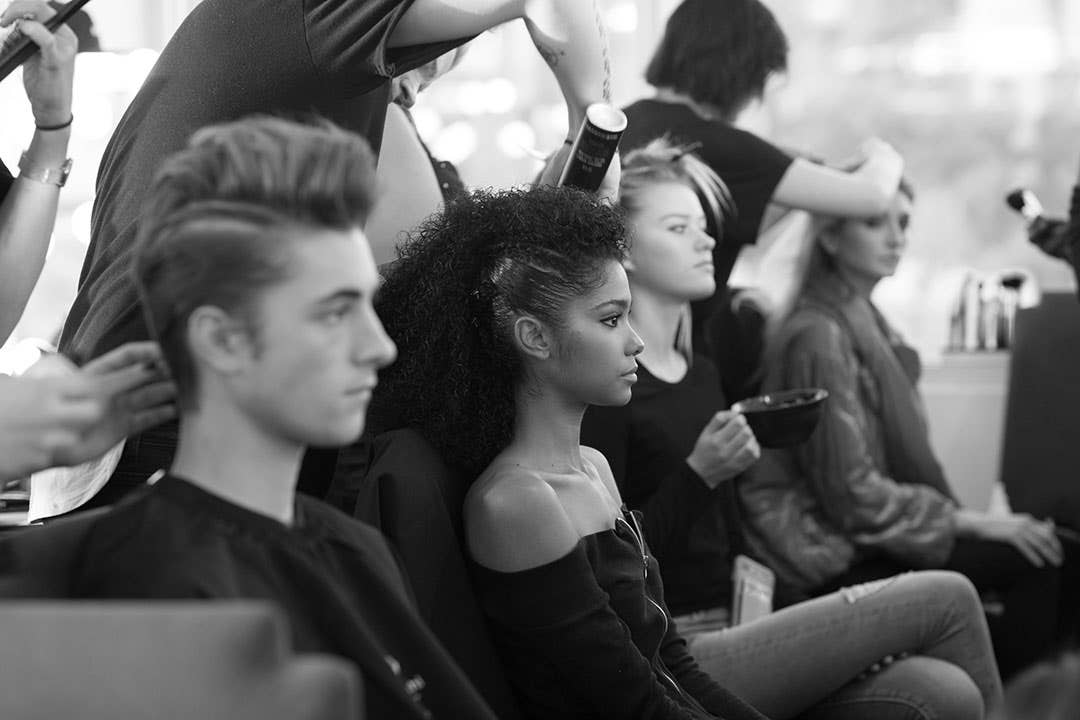
Photo: Tyler Curtis
Get the full breakdown and learn how to recreate the look at home with Noogie’s tips and tricks below:
- Prep hair with water at the base, before adding Neuro™ Lift HeatCTRL™ Volume Foam at the top to create the base for this volume-centric look.
- Create a deep side part, taking a ¾-1 inch section of hair next to the part and prep with Neuro™ Prime HeatCTRL™ Blowout Primer combing through to distribute evenly.
- Comb hair straight back and French-braid using pieces from the outside section to create a 3D effect.
- Once hair is braided beyond the part, secure with a rubber band, and clip the braid into place to maintain perkiness (3-4 clips positioned vertically, and one starting at hairline perpendicular to other clip set).
- Create a "U"-shaped section, clipping hair on top of head before creating vertical sections two inches from the hairline on both sides, clipping the back away for control.
- Apply Tea Tree Styling Gel® to the front and back of vertical sections, evenly saturating and distributing product into hair before combing both sections flat up and to the crown. Apply more gel and secure sections together at the crown.
- Create a second "U"-shaped section under the band and clip up for control, before creating small 1 inch subsections behind the ears, along the hairline, on both sides and repeat the gel process. Comb through to the top of the second "U"-shaped section and secure sections with a rubber band.
- Let down the "U"-shaped sections and apply Awapuhi Wild Ginger® Texturizing Sea Spray® to the base of the top section.
- Apply Neuro™ Protect HeatCTRL™ Iron Hairspray through the bottom section and onto braid, before using a Neuro® Smooth 1.25" Flat Iron to create natural, undone waves on loose pieces (depending on hair texture, use flat iron to smooth curls or add bends as needed).
- Take a small section and with a scooping motion, create a "C" shape near the base.
- Move down the mid-shaft of the section and create another "C" shape motion.
Enhance volume and control of hair by blow-drying with a 413 Sculpting Brush and Neuro® Light Lightweight Hair Dryer in a lifting motion; repeat on both sides. Finish dryingthe top of hair with your fingers to encourage imperfect texture.
- Add control to the top section of hair by applying INVISIBLEWEAR™ Pump Me Up™ in a horizontal section before backcombing the top section.
- Prep hair in top section with Neuro™ Protect HeatCTRL™ Iron Hairspray and create bend on the ends with a flat iron, using the same "C" shape wave technique as bottom, and finish look with Awapuhi Wild Ginger® Finishing Spray™.
- Flat iron French braid to keep it perky, clip down front, and spray with Awapuhi Wild Ginger® Finishing Spray™, blow-drying to lock-in style before securing the braid into your ponytail at the crown, concealing the ends.
- Apply more Tea Tree Styling Gel® onto the sides for a fully saturated, wet look and apply Awapuhi Wild Ginger® Shine Spray™ to intensify the wet effect.
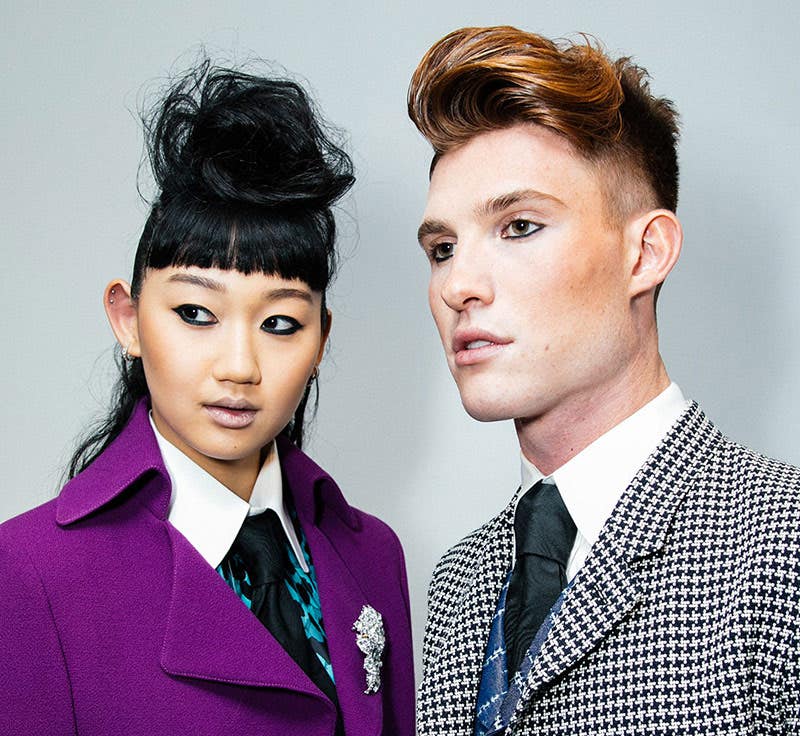
Photo: Tyler Curtis
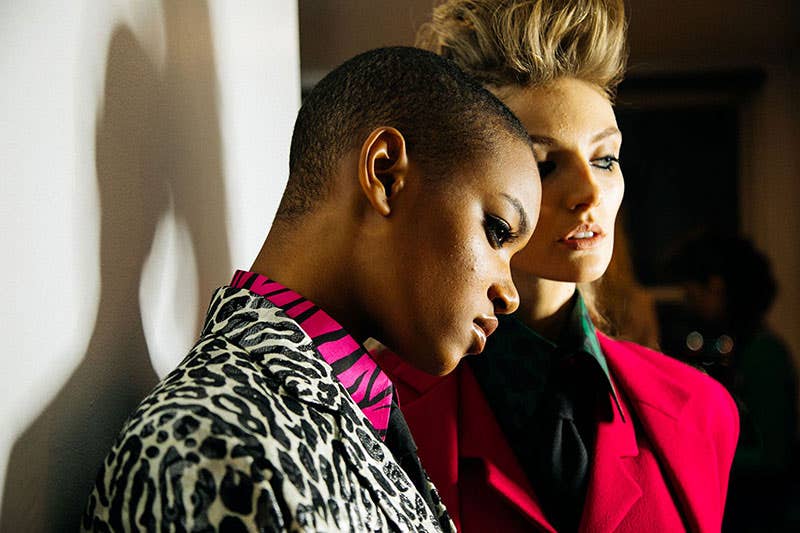
Photo: Tyler Curtis
Check out Virtual Stylist for more on-trend hairstyle ideas.


